Duender 3D Printer
Written by Cory Chung
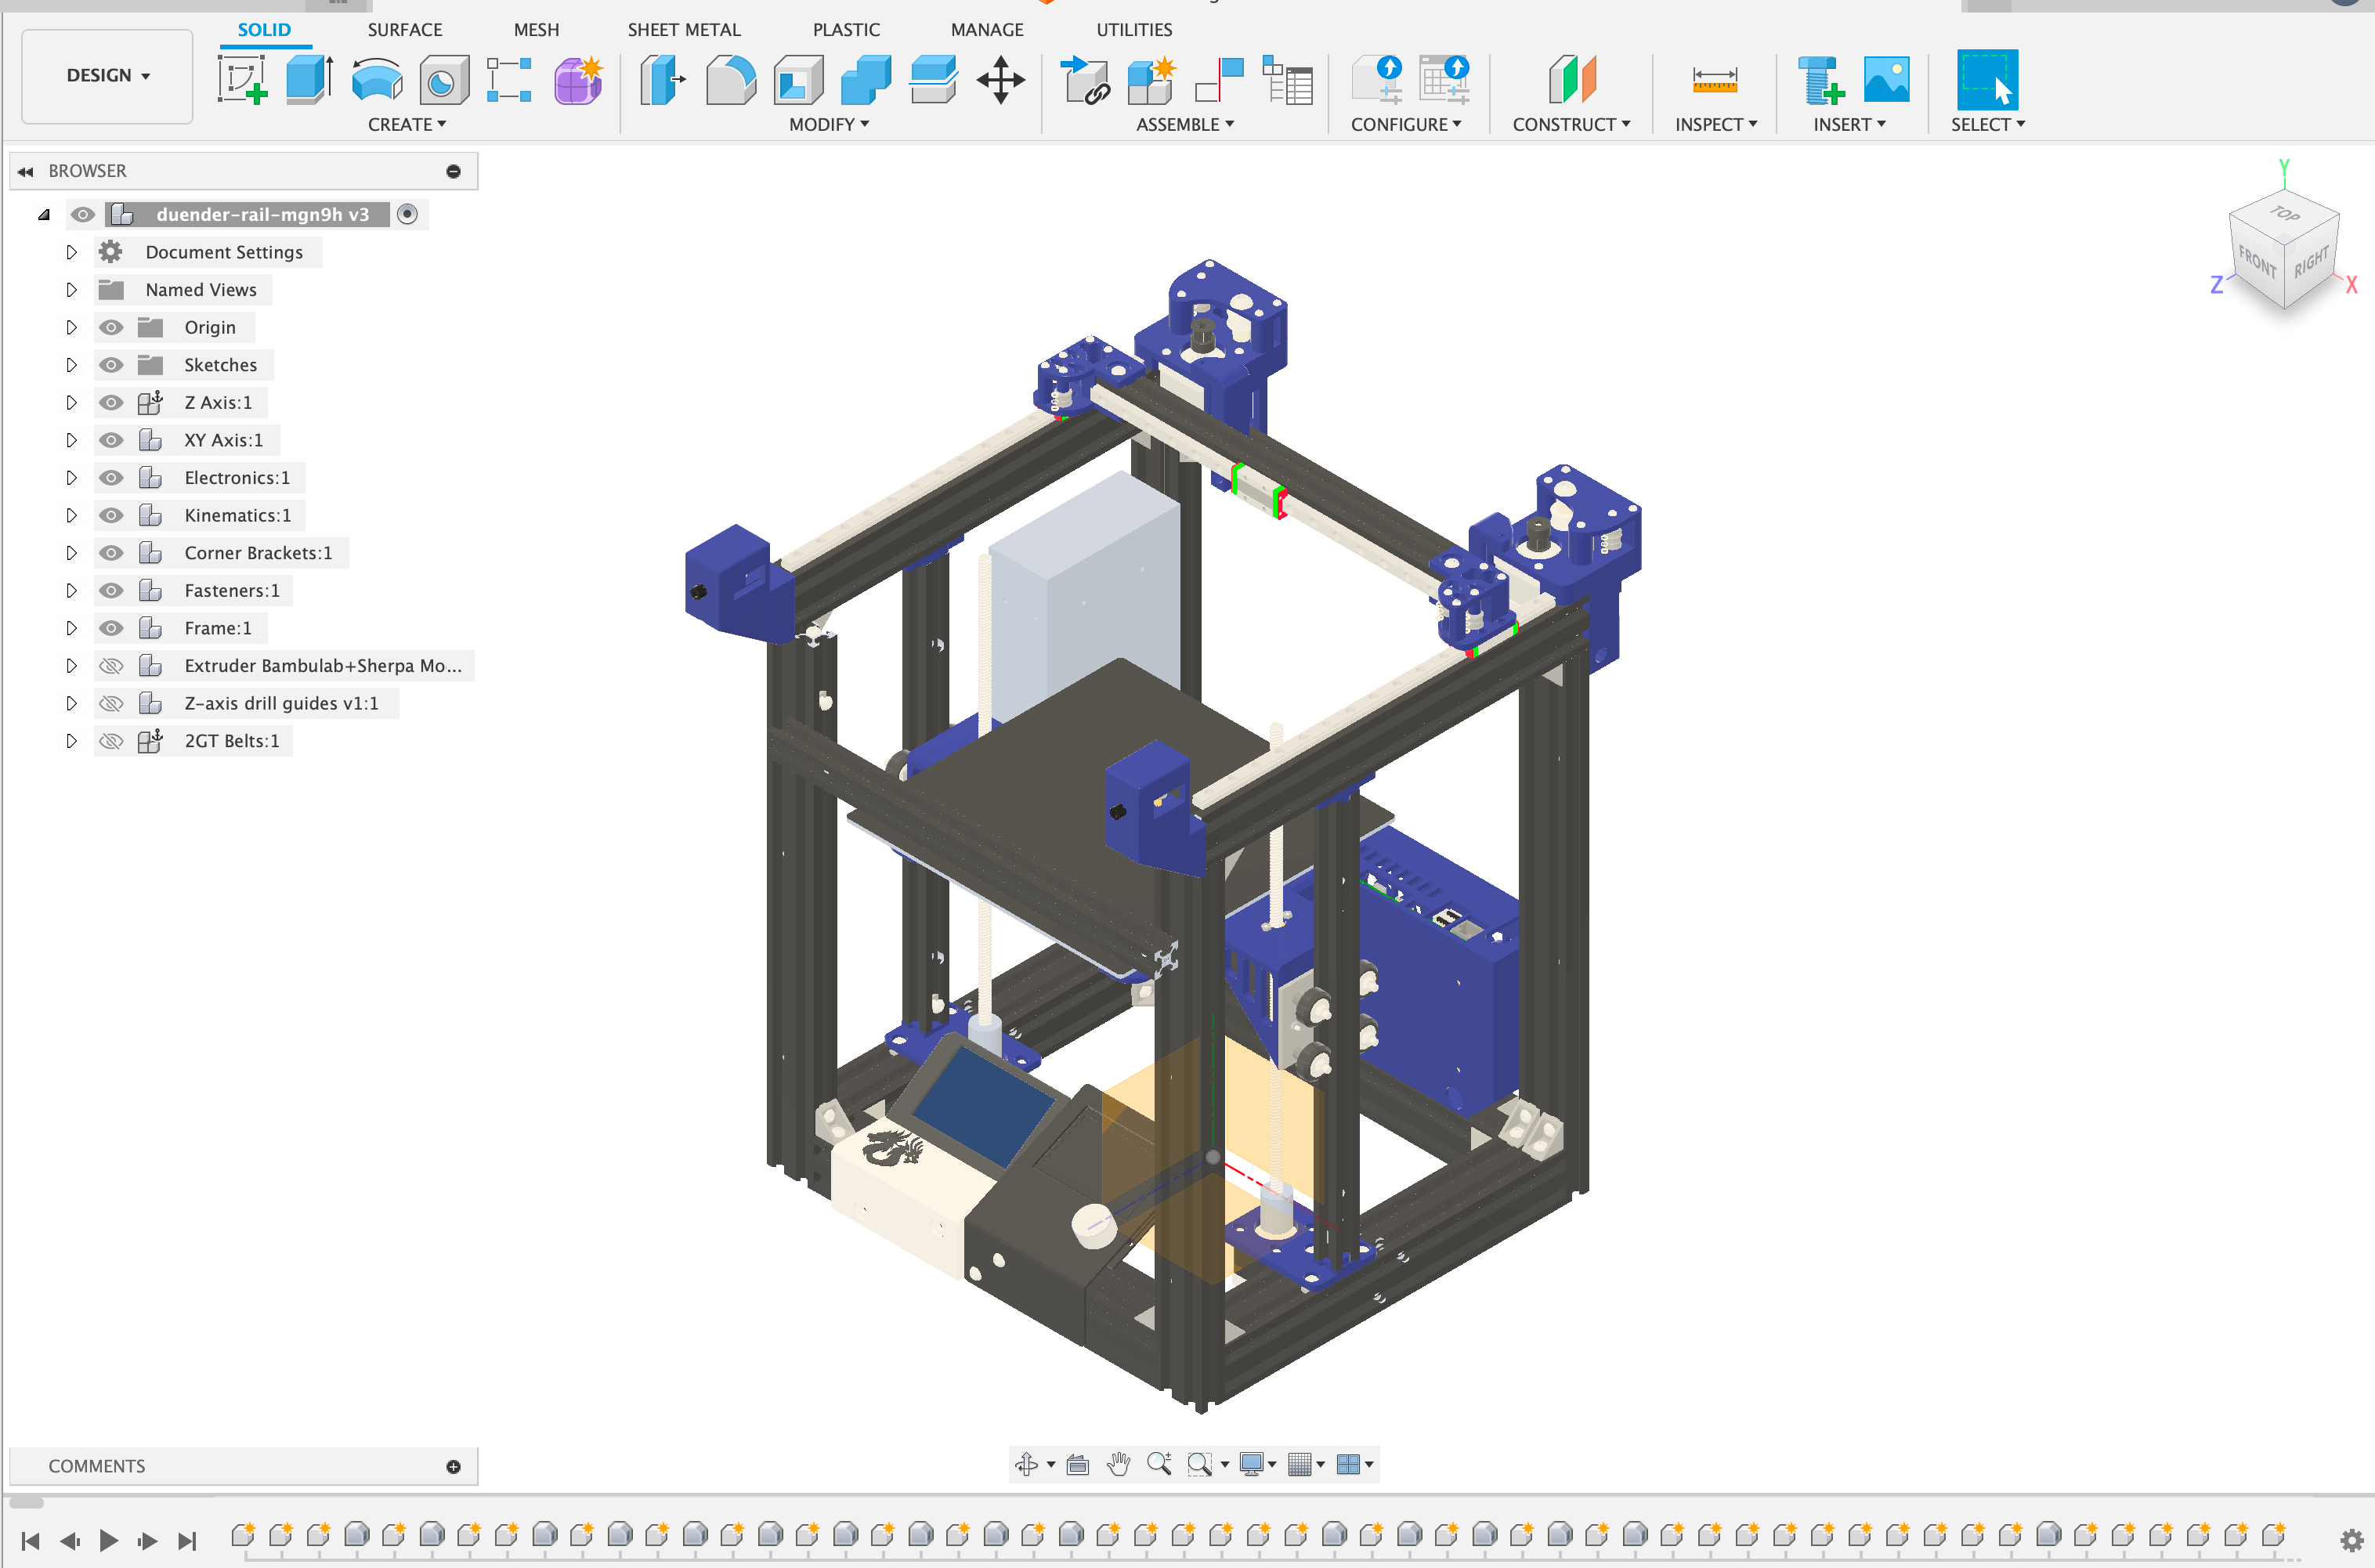
To summarize, the Duender is a custom built 3D printer made from 2 of the most popular 3D printer of all time: the Ender 3. By combining the parts from two of these printers (and adding a few more parts), we are able to create our own custom printer.
Check out the original author Sergei Irbis’s Youtube video for more details.
Inspiration
I was first inspired to follow this project because I wanted something to do over the summer that involved DIY and 3D printing. I was always involved with 3D printers since middle school, always trying to tinker and upgrade, but I had never taken on the task of making one purely from scratch. After finding the Duender from a “top 10 DIY printers” YouTube video, I was inspired to make it, primarily due to the low cost of materials compared to other builds since this one used cheap leftovers from other machines.
Gathering Parts
First I had to work on gathering the parts. The main issue was finding the printers first, which I planned to do secondhand, and then buy any excess parts as cheap as possible via AliExpress (I am a college student after all).
Finding the Printers
I knew I wanted to buy two Ender 3 printers to get this build done, but the main issue was that some were slightly less than ideal for my build. There are many versions of this printer, including but not limited to: E3V2, E3V1, E3 Pro, E3V3, E3V3S1, etc. etc. So I had to make sure I was looking at the right ones.
After searching for a while on Facebook Marketplace and OfferUp, I was able to find two printers for a combined total of around $70, which is a steal considering these printers retail for around $150 each. While they were slightly different versions (V2 and Pro), they were luckily still compatible with each other and would work well for my build.
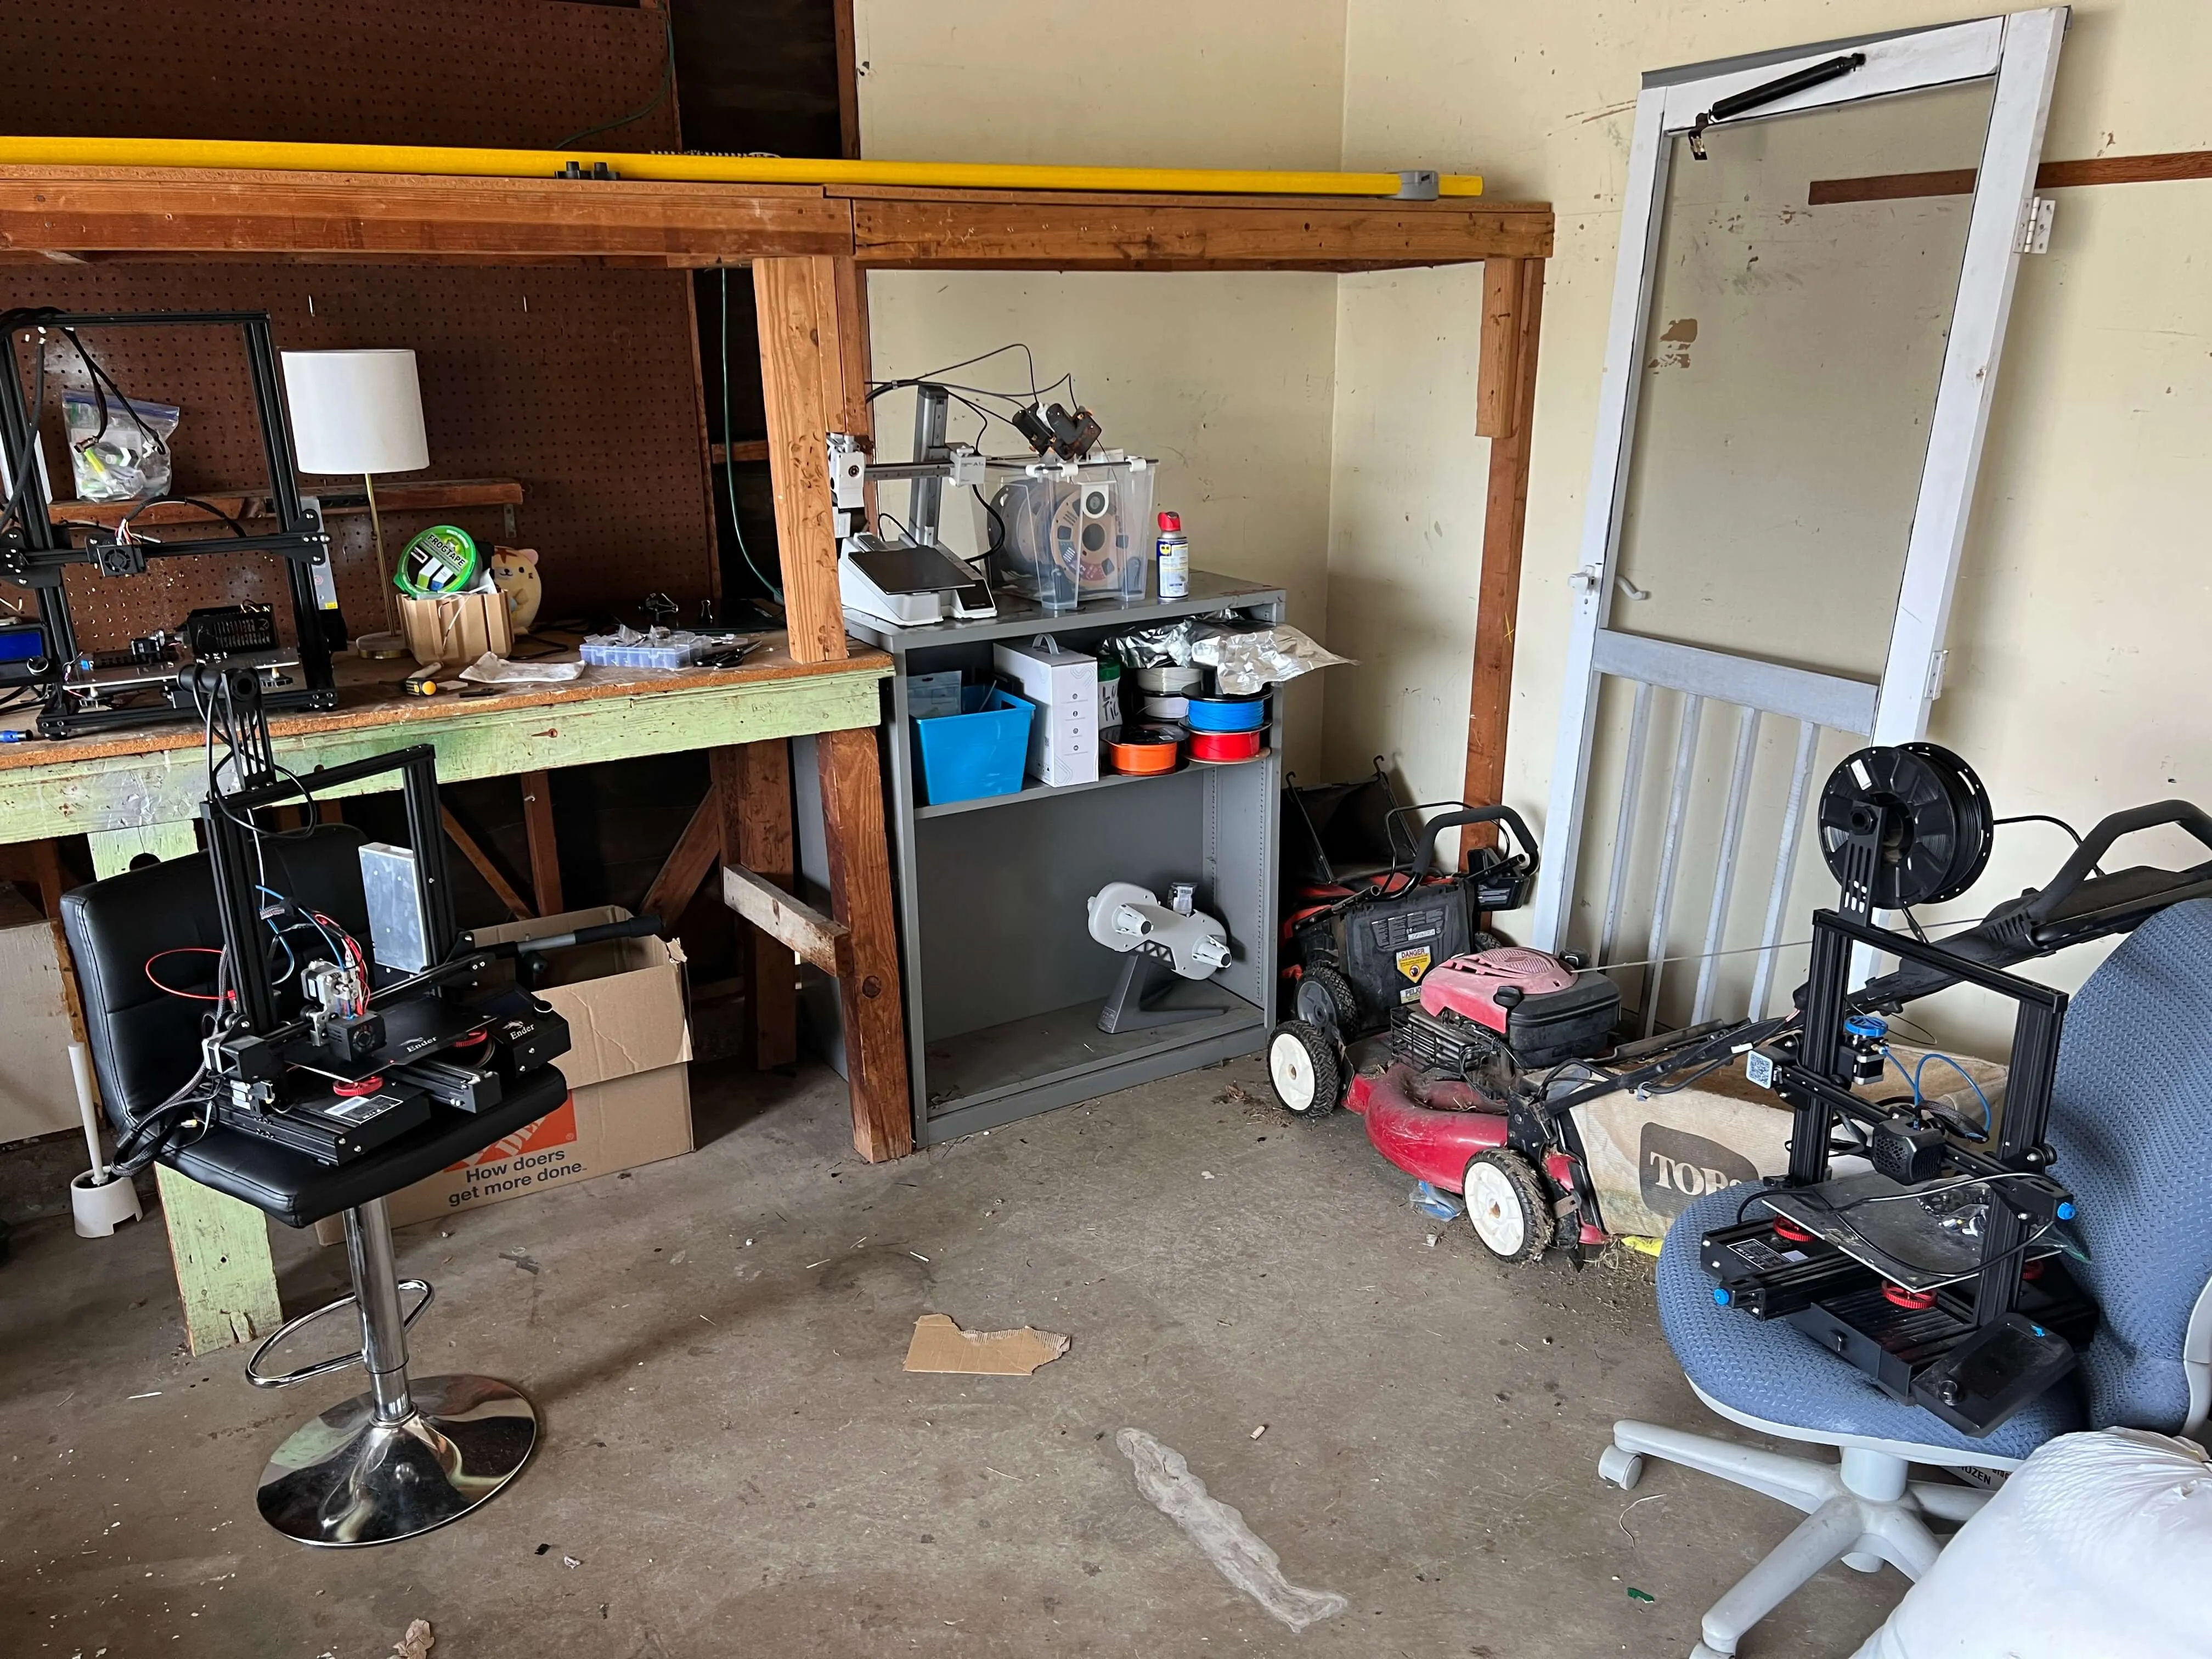
Look at all those printers! (also featuring my Bambu A1 mini printer)
AliExpress
After taking stock of what I had and collected, I knew I had additional hardware I needed to purchase. Luckily AliExpress helped with this, and since I had never used it before I was able to snatch up a lot of “new user” deals and get what I needed for around $60 USD total.
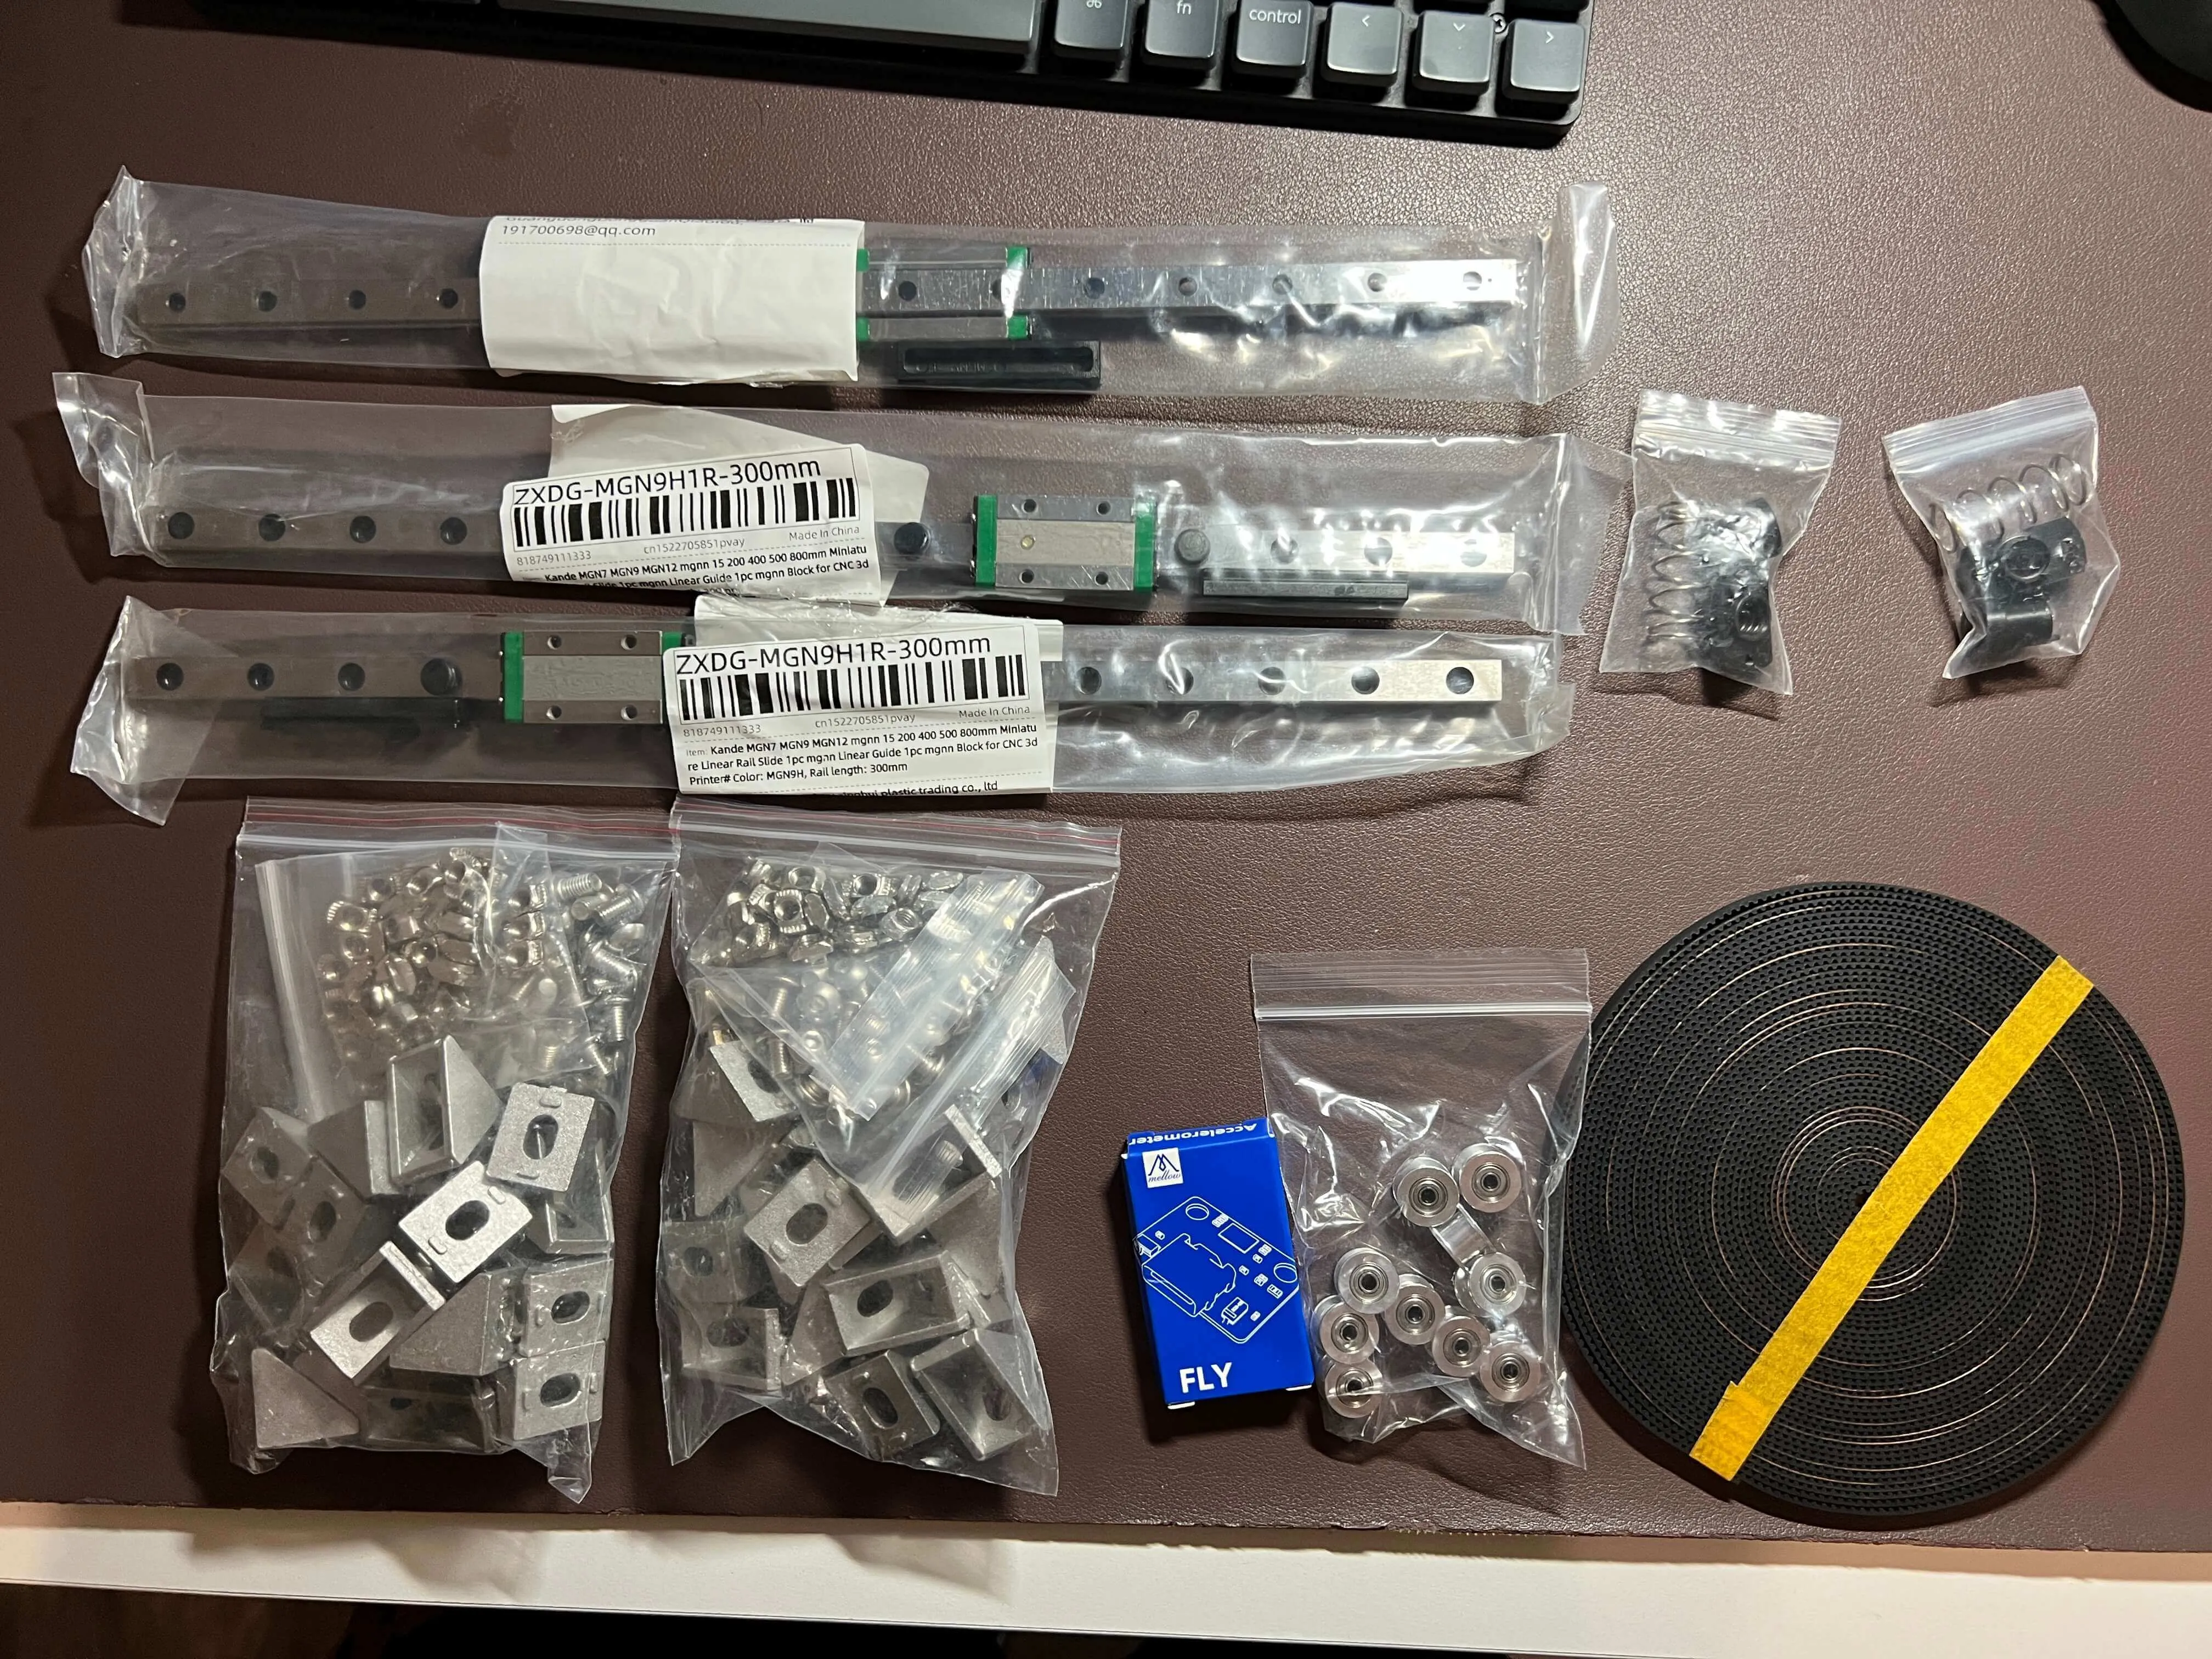
For the amount of stuff I got, $60 was honestly a steal. Thanks AliExpress!
Custom Software
Besides the hardware, we also needed to consider the software. Typically these kinds of machines run on the mainboard of the printer, but most DIY printers require more compute power and typically use something like a Raspberry Pi. Unfortunately, since I didn’t have one on hand and didn’t want to spend the extra cash given my string-tight budget, I instead went the route of taking an old Android phone I had lying around and using that instead.
The open source software for these printers is called Klipper, and can run on any form of Linux, not just a Pi, so once I was able to jailbreak/root the Android phone and install a Linux instance, it was easy to install Klipper and get the software side prepped for the build.
Custom Configuration
Going back to the hardware, the build for this particular printer was quite varied in its potential. After joining the DIY community server on Discord, I realized there was a wealth of different extruder, hotend, nozzle, motion system, and electronics combinations that could be used in order to make this build. Of course, I was going for the cheapest options, but I still wanted pretty decent performance, so I opted for the following configuration:
- Linear rails (over V-rollers) for smoother motion
- Sherpa Mini (DIY) extruder based off the Bondtech BMG
- Xol toolhead for the large community support
- Klicky probe made from the endstop of the Ender 3
There were a ton of other configuration choices, so it was pretty difficult to make it to this point, but I think I’m pretty satisfied with my choices from a price to performance ratio. If I went too low I’d basically just have a slightly fancier Ender 3, and I wanted something a bit more upgraded than that.

All the parts gathered and ready to be assembled!
Current State
While I planned to finish this project in the summer, as all projects go, life gets in the way. So as of right now (November 2025), I’m still in the stage of building out the physical printer. So far I’ve gotten the frame itself (which it was a pain to square), all the necessary printed parts (shoutout to the UCSD makerspace), and a working set of dual Z axis components.
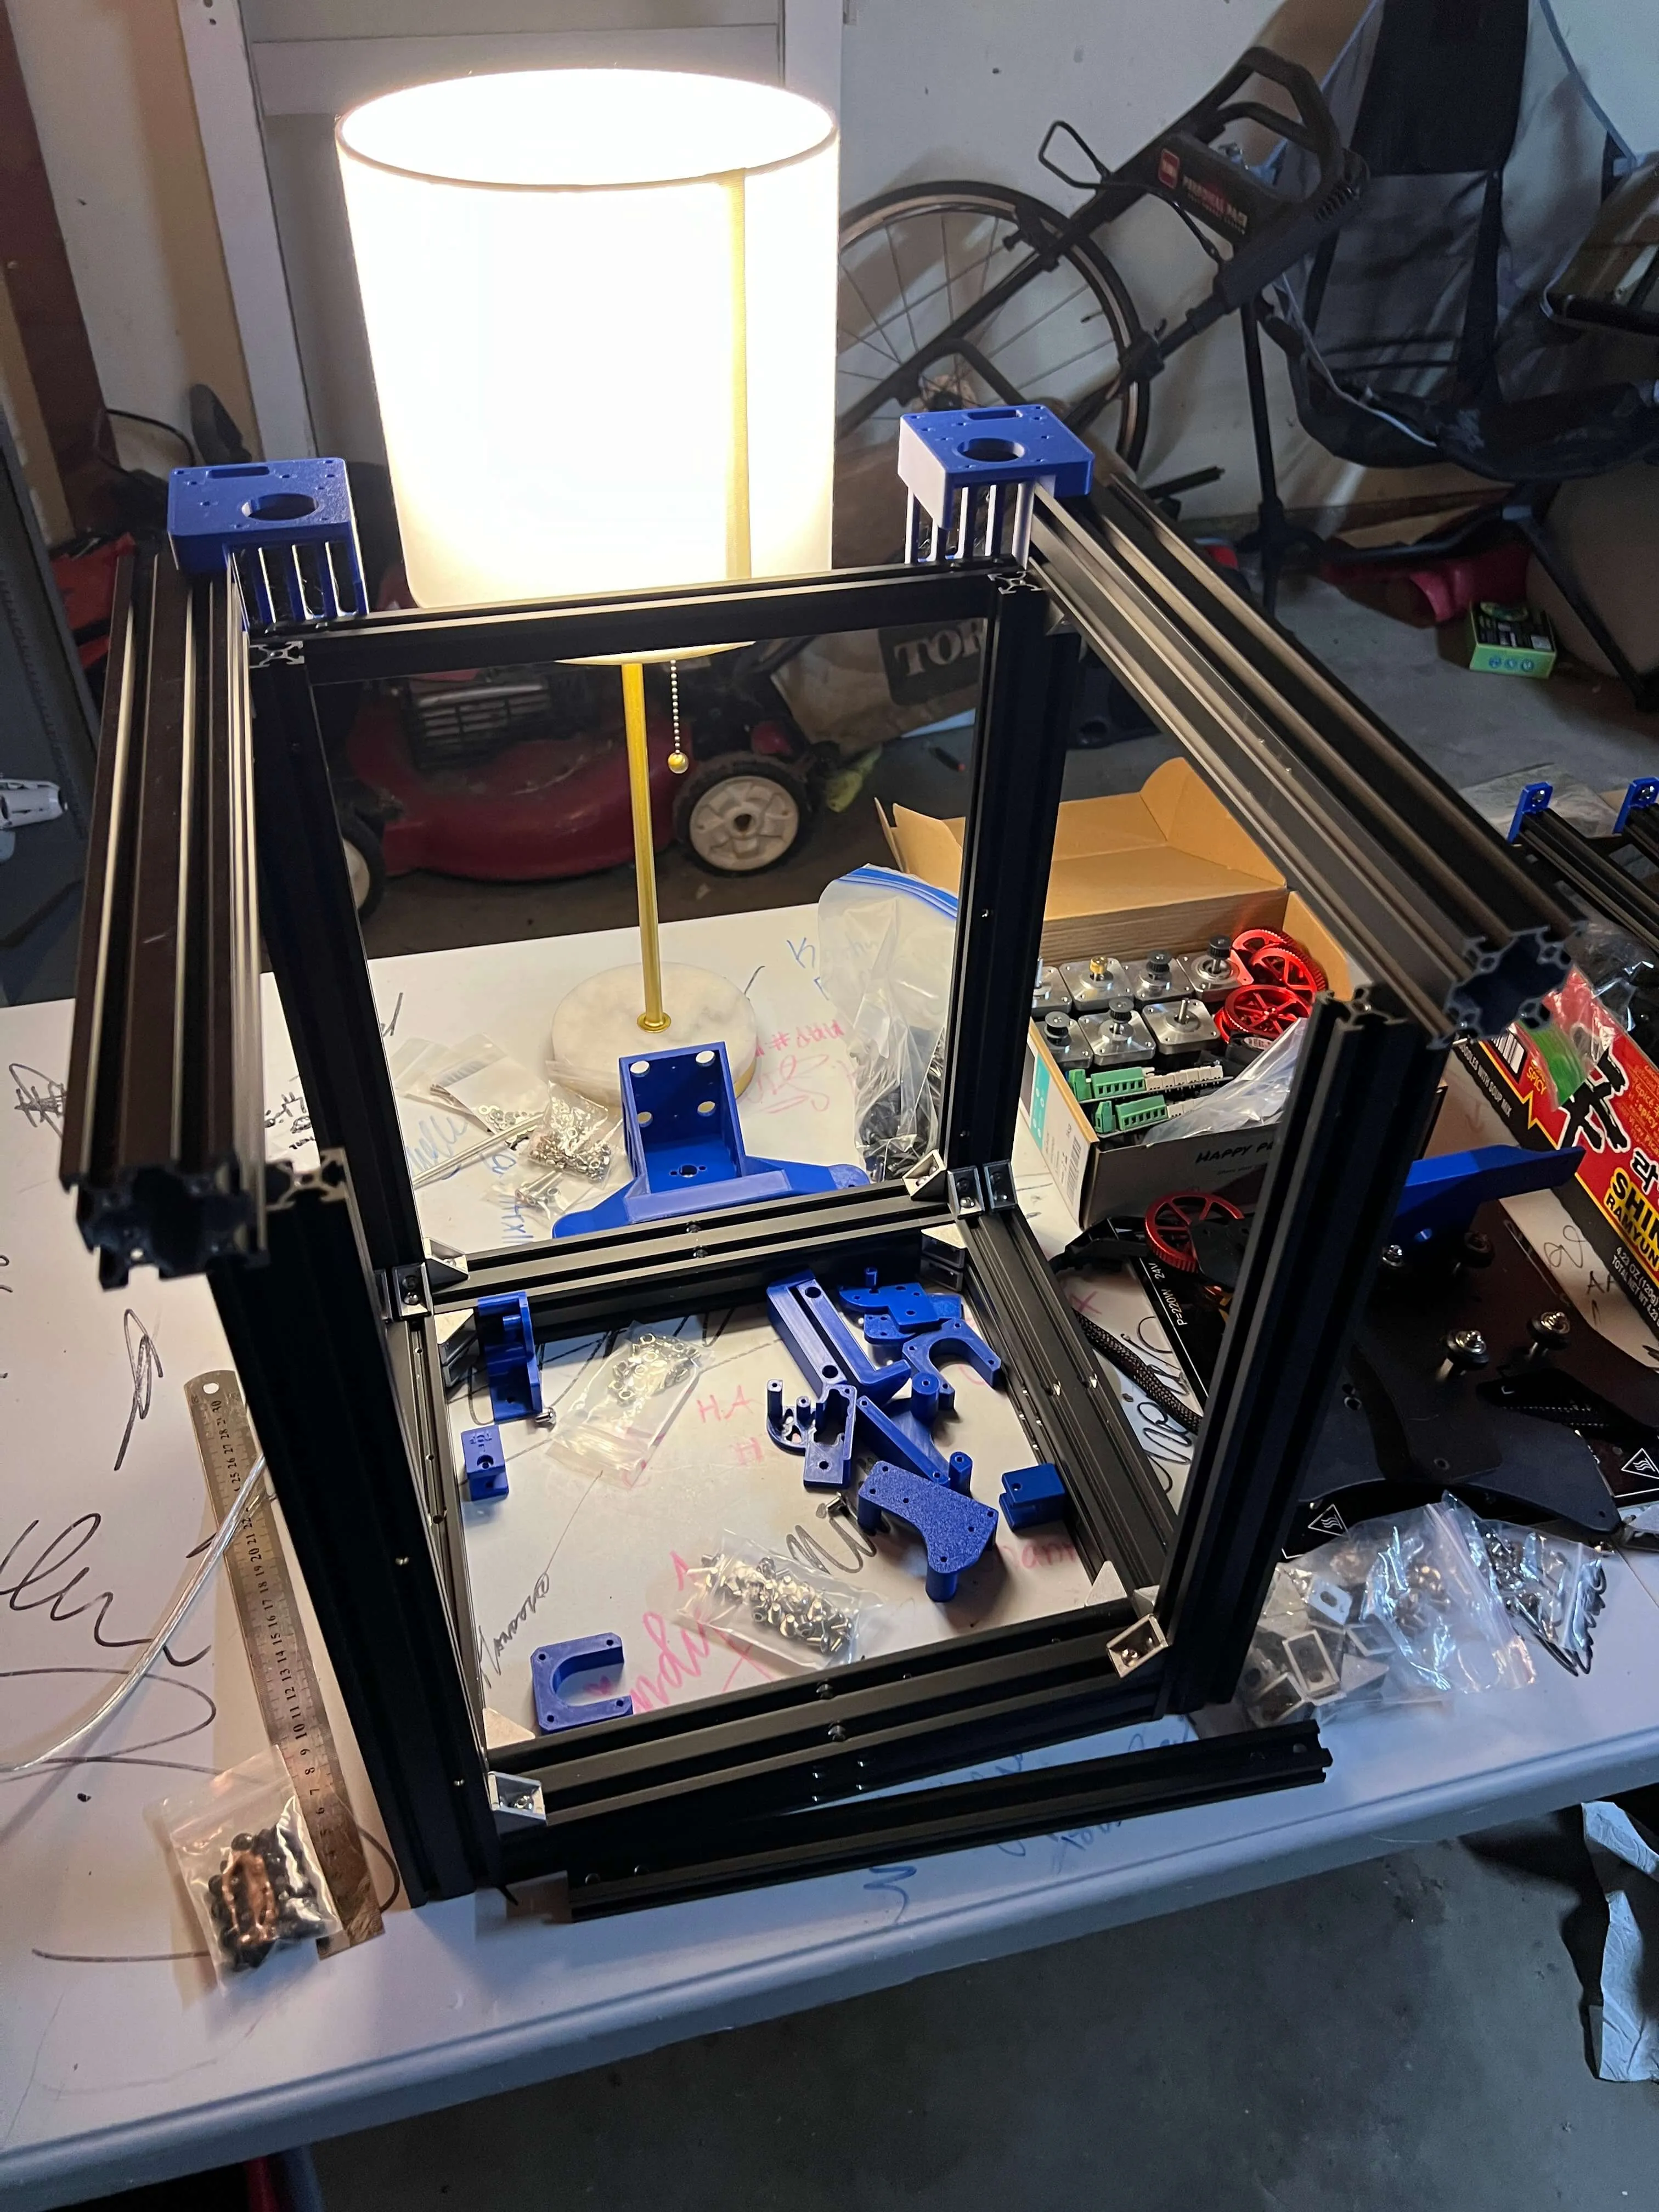
Current state: frame done, Z motors set up (not pictured). Long way to go!
Next Steps
As for the next steps, there’s still a pretty long way to go. After the bed is installed, I still have to work on the XY motion system, and then have to deal with the extruder assembly, and my least favorite part, the wiring and electronics. Finally hooking it all up to the Android and flashing Klipper, and getting it all set up. So it’s a long way to go before making my first Benchy, but I’ll make sure to keep this site updated the whole way through.